Introduction
In today’s digital age, privacy has become a significant concern for many individuals. With the rise of remote work and video conferencing, ensuring your webcam is secure is essential. One effective solution is to install a webcam privacy shutter. This article will guide you through the process of installing one, ensuring your privacy is preserved while using your devices.
Why You Need a Webcam Privacy Shutter
Webcams are ubiquitous in modern devices, but they can also pose privacy risks. A webcam privacy shutter is a simple yet effective way to prevent unauthorized access. Here are a few reasons why you should consider installing one:
- Enhanced Security: A shutter provides a physical barrier that prevents anyone from seeing through your webcam.
- Peace of Mind: Knowing that your webcam is covered can alleviate concerns about being watched or recorded without consent.
- Cost-Effective Solution: Installing a privacy shutter is relatively inexpensive compared to other security measures.
Tools and Materials Needed
Before you begin the installation, gather the following tools and materials:
- Webcam privacy shutter kit (includes the shutter, adhesive, and installation guide)
- Clean cloth or alcohol wipes (for surface cleaning)
- Scissors (if adjustments are needed)
- Tweezers (optional, for precise placement)
- Ruler (for measurement)
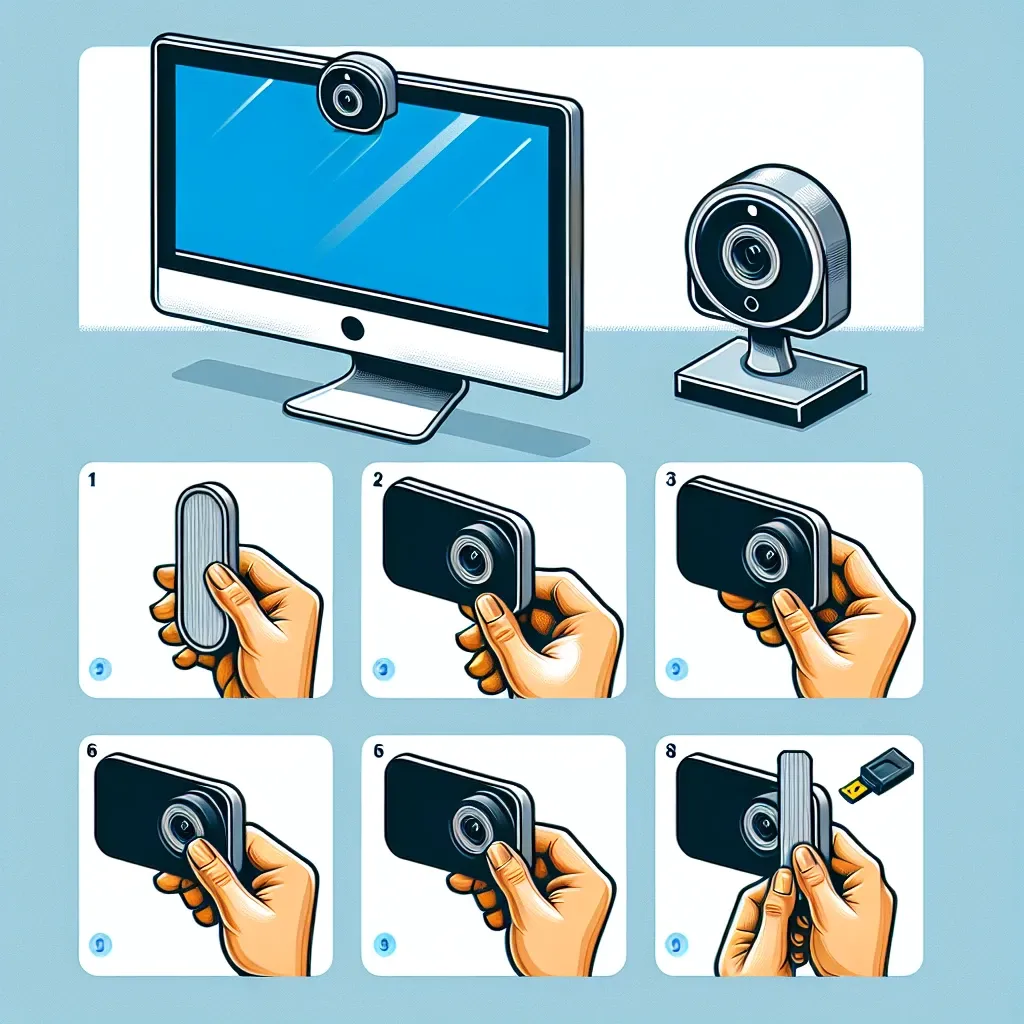
Step-by-Step Installation Guide
Step 1: Clean the Surface
Start by cleaning the area around your webcam. Use a clean cloth or alcohol wipes to remove dust and grease. A clean surface ensures the adhesive will stick properly.
Step 2: Measure and Mark
Using a ruler, measure the dimensions of your webcam. Mark the area where the shutter will be installed. Ensure that it aligns perfectly over the webcam for maximum efficiency.
Step 3: Prepare the Shutter
If necessary, cut the privacy shutter to the desired size using scissors. It’s essential that the shutter fits snugly over your webcam without obstructing any other functionalities.
Step 4: Apply Adhesive
Most shutters come with adhesive backing. Peel off the protective film from the adhesive side of the shutter. Carefully place the shutter over the webcam, ensuring it is centered based on your earlier measurements.
Step 5: Secure the Shutter
Press down firmly to secure the shutter in place. If your kit includes additional adhesive or secure clips, ensure you use them according to the instructions provided.
Step 6: Test the Shutter
After the installation, test the shutter to ensure it opens and closes smoothly. It should effectively cover the webcam when closed.
Maintenance Tips
To keep your webcam privacy shutter functioning optimally, consider the following maintenance tips:
- Periodically clean the shutter to prevent dust build-up.
- Check the adhesive regularly to ensure it remains secure.
- Test the functionality of the shutter, especially if used frequently.
Future Considerations
As technology evolves, so do privacy concerns. The demand for webcam privacy shutters is expected to grow, leading to advancements in design and functionality. Future models may include remote control features or automatic closing mechanisms for added convenience and security.
Conclusion
Installing a webcam privacy shutter is a practical step toward enhancing your online privacy and security. Following this guide, you can easily install one and enjoy peace of mind knowing your webcam is protected. Remember, taking proactive steps to safeguard your privacy online is essential in today’s connected world.
FAQs
Can I install a webcam privacy shutter on any device?
Yes, most webcam privacy shutters are designed to fit various devices, including laptops, desktops, and external webcams.
Will the shutter obstruct the camera’s view?
When properly installed, the shutter should only obstruct the camera when closed, maintaining full functionality when open.
How do I remove the shutter if I change my mind?
Carefully peel off the shutter; if adhesive residue remains, use an alcohol wipe to clean it off.